One of our favorite summertime activities is to make homemade ice cream! We usually use an ice cream maker, but if you don't have one, this is a fun alternative and everyone can make their own!
You'll need:
1 tablespoon sugar
1/2 cup milk or half & half
1/4 teaspoon vanilla
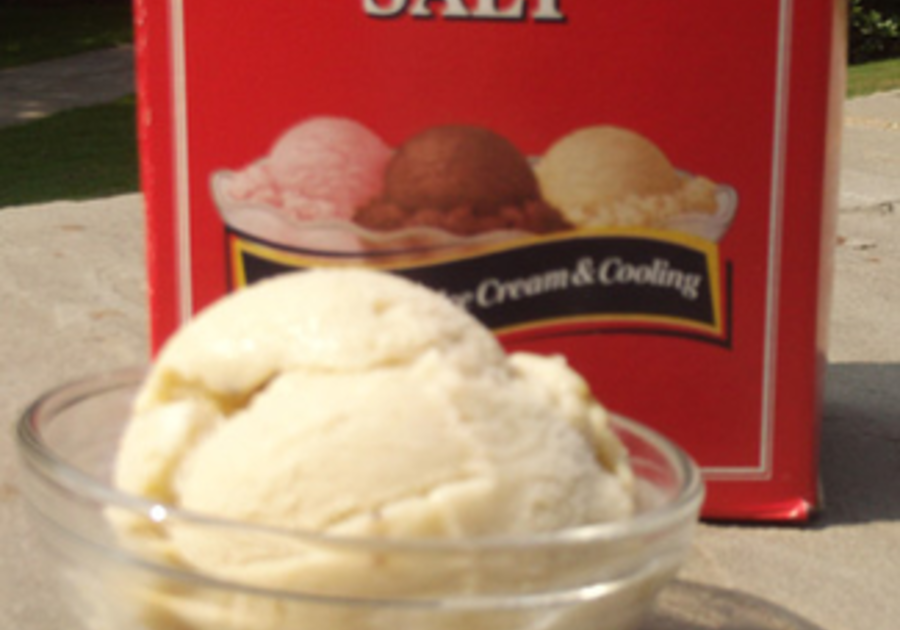
6 tablespoons rock salt (this is easy to find in the baking aisle)
1 pint-size plastic food storage bag (e.g., Ziploc)
1 gallon-size plastic food storage bag
a bag of ice or make lots of ice cubes and break them up a little
Fill the large (gallon size) bag half full of ice, and add the rock salt. Seal the bag.
Put milk, vanilla, and sugar into the small bag, and seal it...make sure it's sealed!!!
Place the small bag inside the large one, and seal it again carefully....VERY IMPORTANT!
Shake until the mixture is ice cream, which takes about 5 minutes.
Wipe off the top of the small bag, then open it carefully. Enjoy!
Tips:
A 1/2 cup milk will make about 1 scoop of ice cream, so double the recipe if you want more. But don't increase the proportions more that that -- a large amount might be too big for kids to pick-up because the ice itself is heavy.
Here's another alternative and the kids will get a little exercise, too!!
Coffee Can Ice Cream!
You'll need:
1 pint of half and half
1/3 cup granulated sugar
4 tablespoons of your favorite instant pudding mix (chocolate was used here)
10 cups ice
1 1/2 cup rock salt (kosher salt or sea salt can be used too)
3-pound coffee can, emptied and rinsed
1-pound coffee can, emptied and rinsed
Duct tape
In a medium bowl, mix together half and half, sugar, and pudding mix with a whisk until thoroughly mixed.
Place 1-pound coffee can inside the 3-pound coffee can and pour ice cream mixture into smaller can. Cover the smaller can with it’s corresponding lid and seal with duct tape.
Surround the smaller can with ice and salt by layering 5 cups of ice with 3/4 cup of salt. This is important because the slow melting of the ice creates the evenly cold temp that creates nice creamy ice cream!!
Use duct tape to seal the 3-pound can with its matching lid and start rolling. Have the kids face each other and roll the can back and forth on its side for 10 minutes.
After 10 minutes, open the cans and check the ice cream. Remove the smaller can and check the ice cream. The mixture on the sides of the smaller can will set up faster than the center. Use a rubber spatula to quickly scrape down the sides and give the ice cream one stir.
Next, reseal the lid on the smaller can with duct tape, and set it aside. Quickly dump the melted ice water from the large can, and place the smaller can into the larger can again.
Now you need to surround the smaller can with remaining ice and salt by repeating step 3. Once that is done, put the lid on the larger can and seal with duct tape again.
Ask the kids to roll the large can for 10 minutes more or until the ice cream thickenens.
>>Use your favorite flavor of pudding to change the ice cream flavor.
>>After the first 10 minutes of kicking around the can, mix in some nuts or chocolate chips to enhance the flavor of your ice cream.
You can also stir the mixture and set it in the freezer for about an hour to allow it to harden.